Sawgrass SG-500 / SG-1000 / SG-400 / SG-800 Software Installation
Sawgrass Software
There are two pieces of software that should be installed for these machines,
Sawgrass Print Manager and
Creative Studio.
Sawgrass Print Manager is used when you output to the machine. As you go to print your work from your design software, your drawing will load into the Sawgrass Print Manager where you are able to do final modifications before it is sent to the printer.
Creative Studio is an optional design package to create drawings - if you have another design software already, such as "TechSoft Design V3", this is not needed.
Installing the Software
- Leave the printer unplugged from the computer.
- Download the software from Sawgrass' website - link here.
- Once the software has downloaded, double click on the downloaded file to begin the installation. Follow the on-screen prompts to install the software.
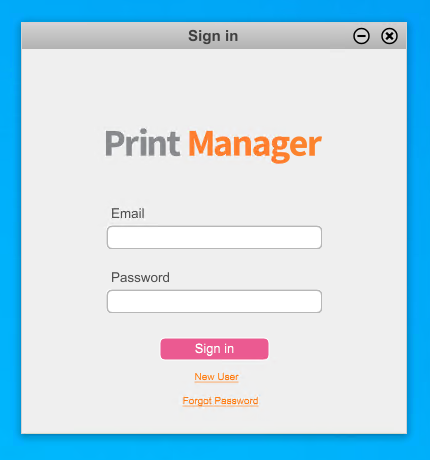
- Once installed, run the "Sawgrass Print Manager" software (this may launch automatically). You will now be required to sign in or make a new account with Sawgrass, which you can do for free. Once you have created an account, enter your log-in details in the "Sawgrass Print Manager" software.
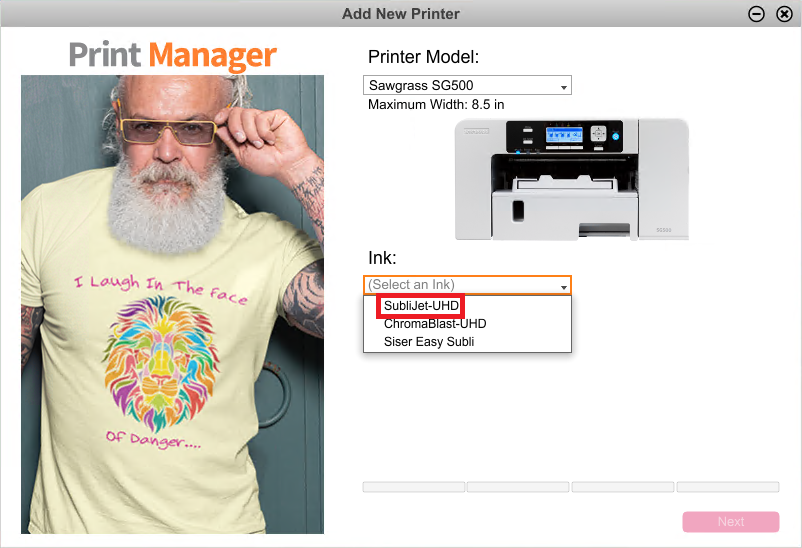
- You will now be required to select your printer model and ink. Please select the Printer Model from the dropdown. If you have purchased your machine and inks from TechSoft, please select the SubliJet inks from the ink list. Finally click Next.
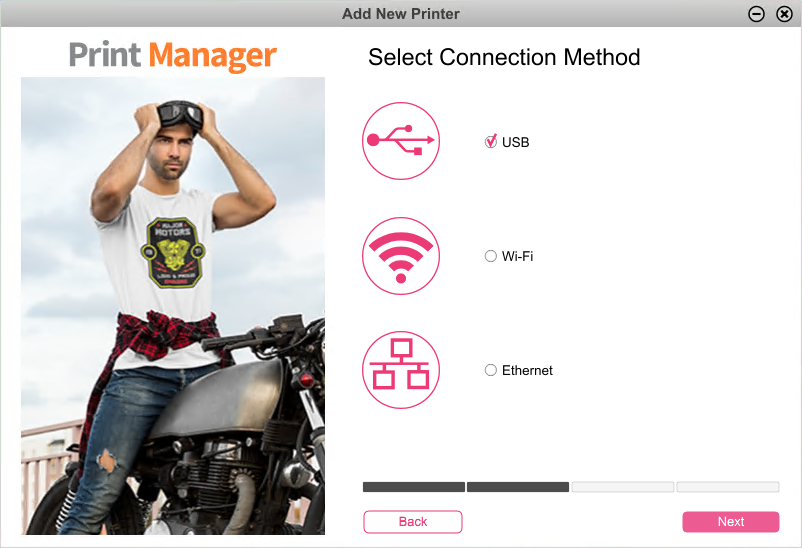
- You will now be prompted to select your connection method, please do this and click Next
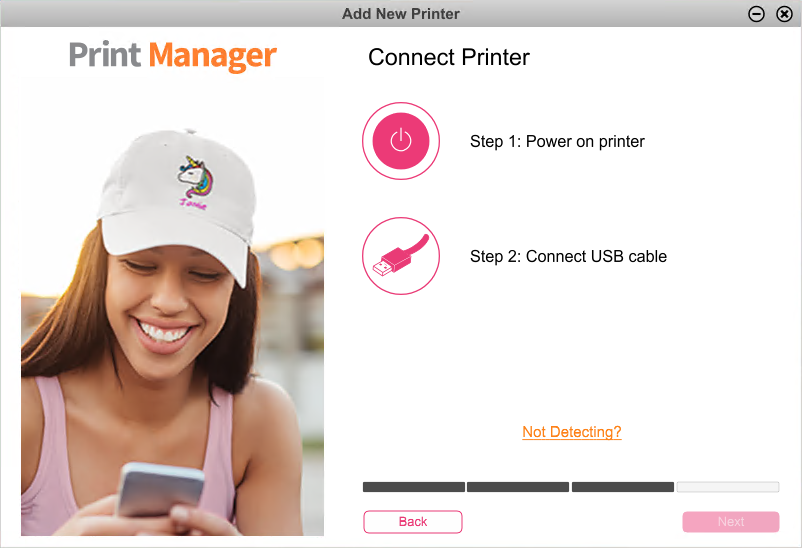
- You will now be prompted to connect your printer to the computer, please do this and click Next
- The setup will now tell you it is complete.
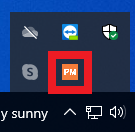
- TechSoft supply the machines with DyeSub Magic paper which is not included in the standard installation. To enable this paper, you must now right-click on the PM icon on the bottom right of the Windows taskbar.
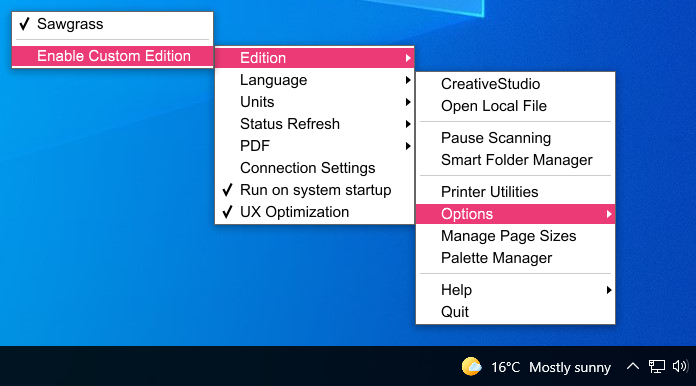
- Then select Options > Edition > Enable Custom Edition
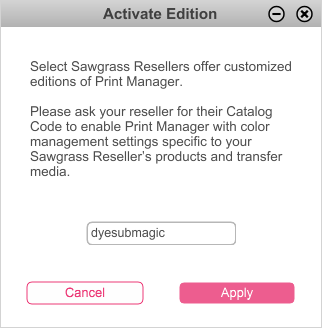
- Then type dyesubmagic all in lowercase, no spaces, and click Apply.
- The software is now setup.
Printing from TechSoft Design V3
- Create your drawing and then go to File > Print.... Select the printer as Sawgrass Print Manager and Print.
Note: Make sure to select Sawgrass Print Manager in the list of printers - there will also be a printer listed corresponding to your printer's name, simply ignore this.
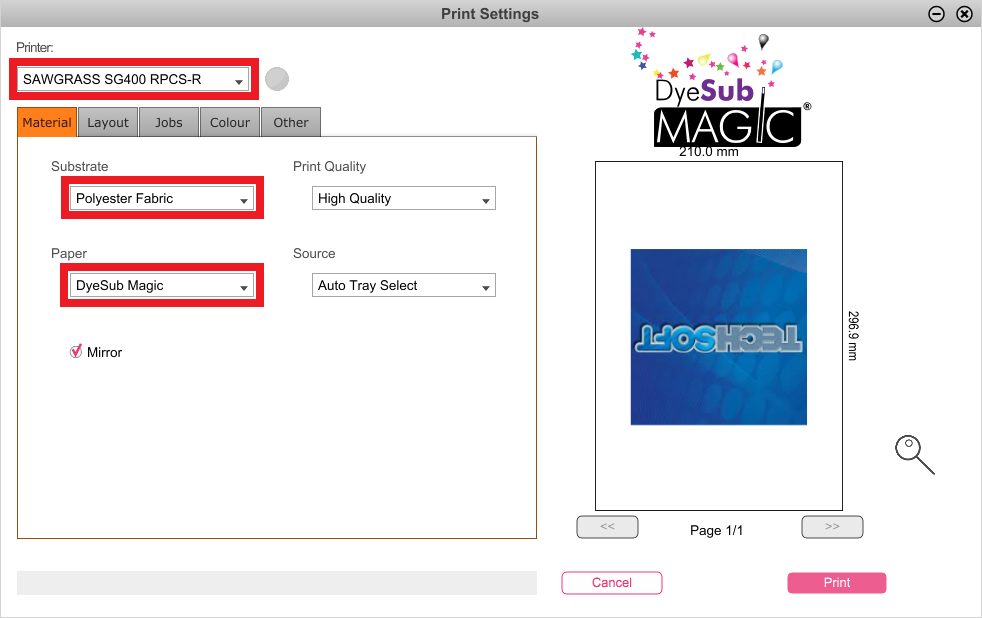
- A Print Settings dialog box will now appear. Please make sure that the correct printer is selected at the top, that the substrate you will use is set correctly, and that the paper is set to DyeSub Magic if you are using TechSoft paper.
- Finally, print your drawing.
Article Date: 03/04/2024
In this section of our website you will find basic support articles for a range of TechSoft's software and machines. If you cannot find what you are looking for, please contact us on 01745 535007 or email us on sales@techsoft.co.uk


