PE Design 11 is the ideal package for older students who need to work with specialist embroidery design software and want unlimited opportunities to configure every detail of the embroidered effect.
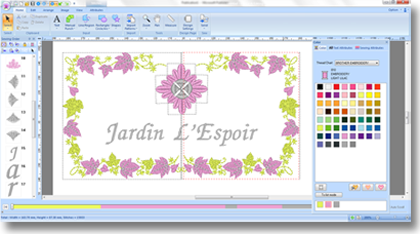
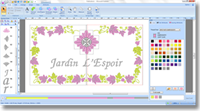
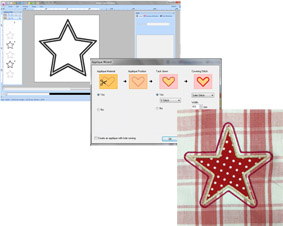
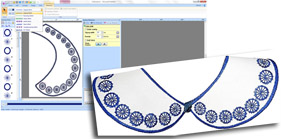
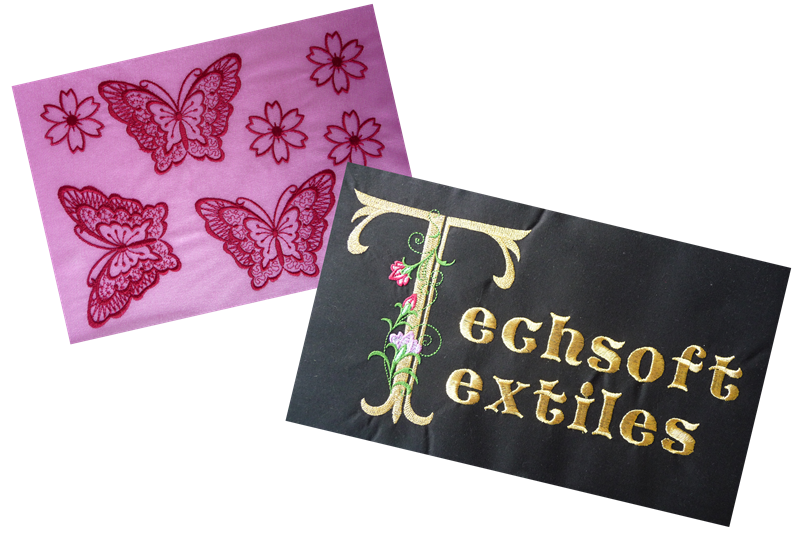
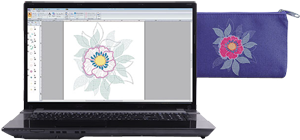
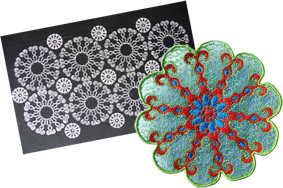
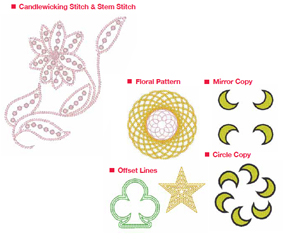
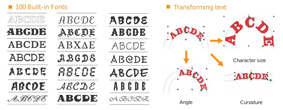
PE Design 11 includes all the functionality of PE Design Plus 2 but adds significant tools to provide a powerful platform for students needing industry specific software with comprehensive creative options. Extra fonts and additional in-built designs provide a total of 130 fonts and over 1000 design elements for direct use or for combining, editing and customising. Additional outline stitches include triple, stem, candlewicking, E/V and chain stitch. Additional fill stitches include piping, cross, concentric circle, radial, spiral, net fill and zigzag net fill. A fabric selector automatically adjusts the sewing attributes for your design based on the fabric you will be using.
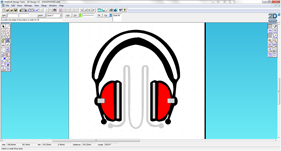
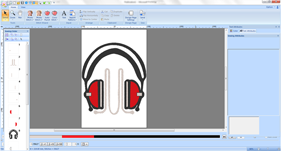
Files can be output to any Brother machine with hoop sizes up to 360 x 360mm.
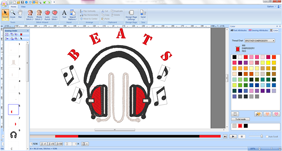
Stitching features for more expressive embroidery in Design 11Enhanced lettering features in PE Design 11 allow greater creativity when designing logos


")